THE SKYGLOW OBSERVATORY
As I have grown older, I have come to realize that using my 10" Meade SCT has become a burden. The weight of the scope with the forks and base is rather taxing and lifting it up and down off of the mount takes some doing. This is alright if I am doing it every so often to the dark sky site but if I want to observe from my own yard, it becomes so much of a chore that the event had to be something spectacular to get me to mount the scope on my pier outside. As a result, I managed to convince my better half that I needed an observatory for permanently mounting the scope and save my back.
Originally, I thought I would build my own structure. A few plans were drawn up but I really had not decided on how to manufacture the roof. Then I stumbled across an observatory on the web. Herman Zwirn described how he managed to buy and assemble an observatory for under $1000 using a plastic shed from Sam's club! It was perfect for my budget, my yard and my abilities. The wife liked it too.

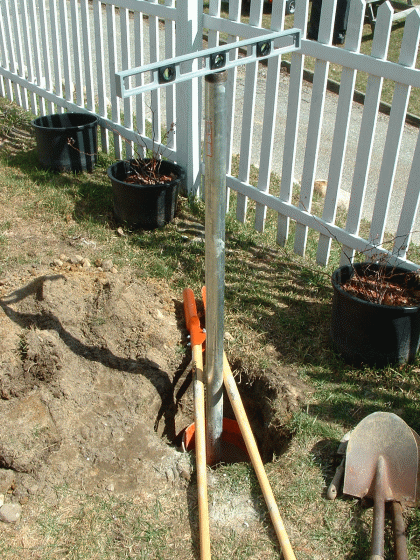
The original mount I placed in my yard for astronomy
I had already placed a mount in my yard. It was a bit on the tall side but I could not drive the pier into the ground any farther because of all the rocks and Granite underneath the soil. The pier pole is also a bit on the small side as far as diameter is concerned. It does produce vibrations when one is near the mount. I hope to improve on this in the future. The performance has been satisfactory for the past two years and I now planned on putting the observatory around this mount.
Originally, I thought I might have to move the mount but as I began to measure the actual height of the mount with the scope attached, I realized that the entire unit was going to barely fit inside. This meant that when the roof was off, the scope would be above the walls and I would have no need to open the front doors for southern sky observing. Additionally, the neighbor's treeline and city skyglow would pretty much remove any chance for observing/photographing objects below a declination of -20 degrees. As a result, I decided to keep the pier and mount where I had originally placed it.
Assembling the observatory was a task. Thanks to a father's day present by my stepson of helping me assemble the shed, it did not take too long.
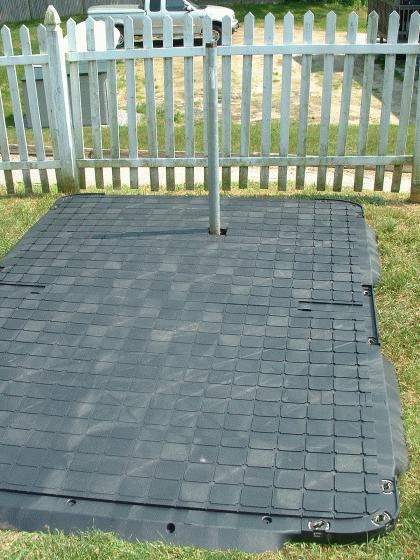 A hole
was cut through the shed floor and the entire floor was placed
over the pier pole. One thing that I eventually learned the hard
way was that the floor should be as level as possible. In NH,
this is not easy and it would lend to troubles after construction
was complete. I had to put slate and brick underneath floor
sections in order to allow for the roof to be easily removed and
reinstalled.
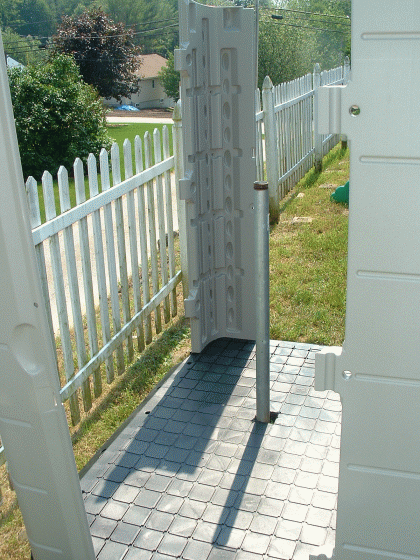 The supports were added to the front end of the
observatory for mounting the doors.
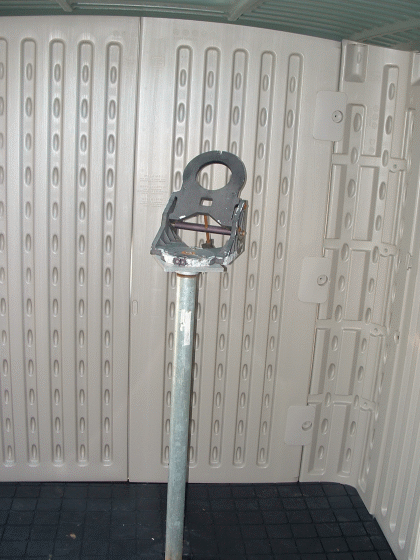 The
completed shed with the wedge assembly mounted on the pier pole.
At this point I was not too concerned about how tall the
observatory was. The wedge seemed to be adequately below the
roof. I did not know how close I had cut it until I placed the
scope on the mount.
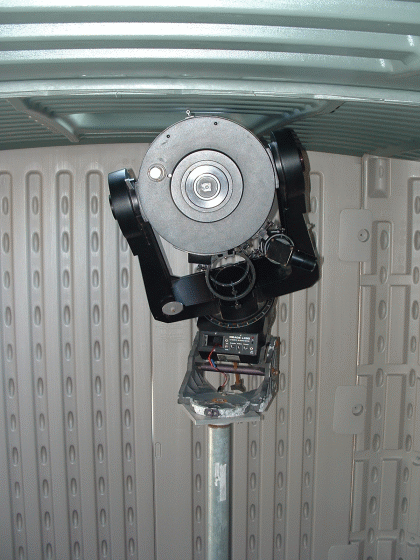 I was suprised to see that it was a close thing to put
the scope on the mount. The scope just barely fit only after I
had to rotate the tube upside down to keep from taking off the
finder and guidescope rings.
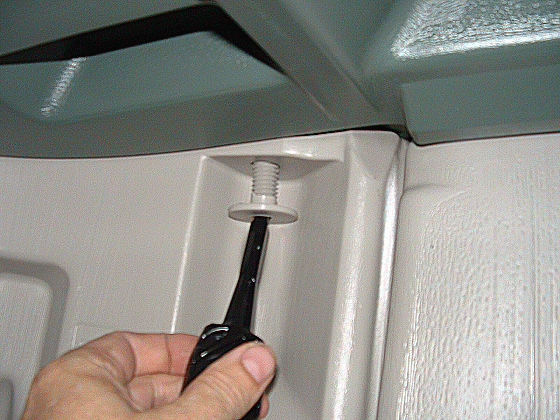 Removing
the roof is pretty easy. There are six of these screws (although
you only need four to hold the roof in place) holding the roof to
the frame.
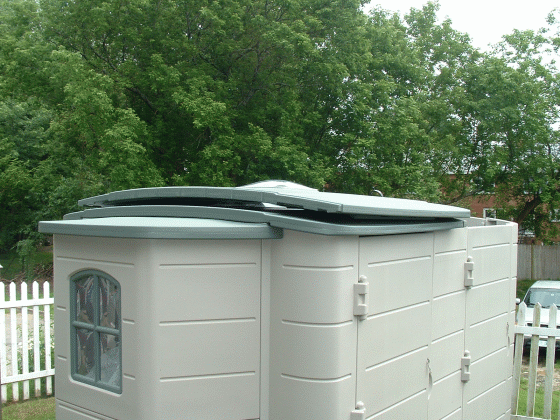
After that it is a simple matter of pushing forward a bit and lifting the roof and placing it on the rear section. Unfortunately, if the shed is not level, realigning the holes is difficult. Make sure the floor is level prior to assembling the shed.
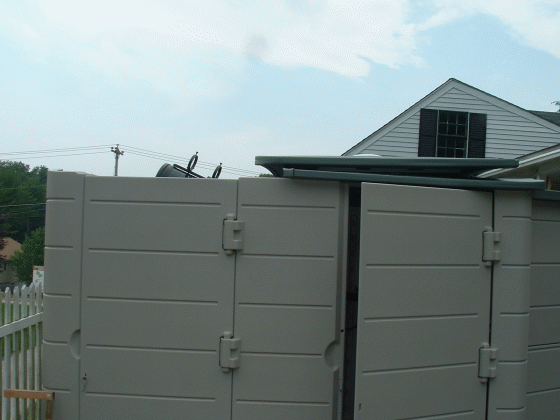 The sideview of the observatory. I use the left rear
door for access and keep the other doors closed. This helps
maintain the structure more solid. Note the scope peaking above
the walls.
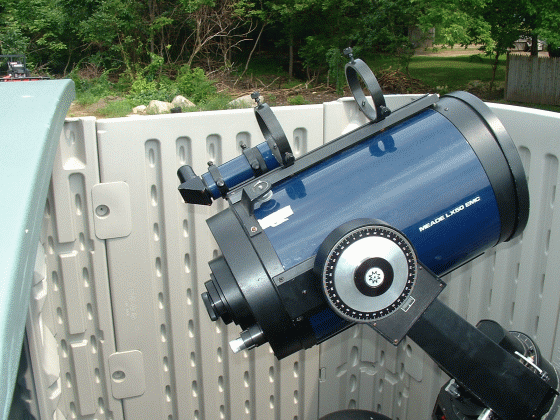
In this image that the one can see that the height of the pier allows me to view most of the sky not obstructed by the nearby trees and housing.
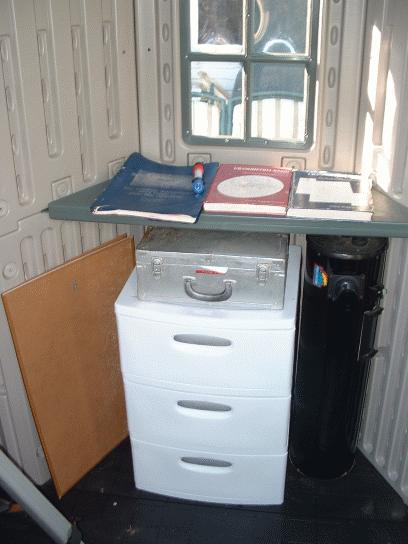 Here, you can see the workshelf in the back of the shed.
The little cabinet provides additional storage. The shelf can be
used for a laptop or as a place to put your starcharts, which is
my choice.
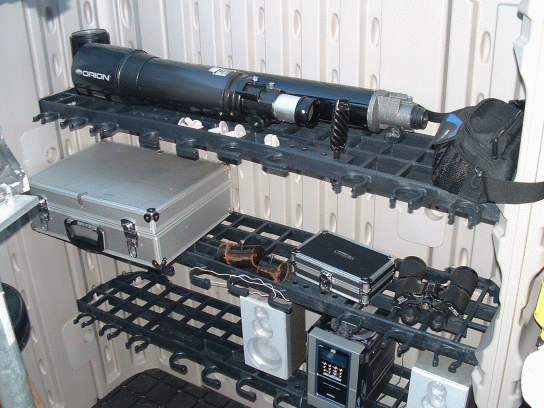
To the right, you can see the shelving that comes with the unit. I place most of my commonly used equipment and the stereo system here. I can listen to the Red Sox or some very good star watching music!.
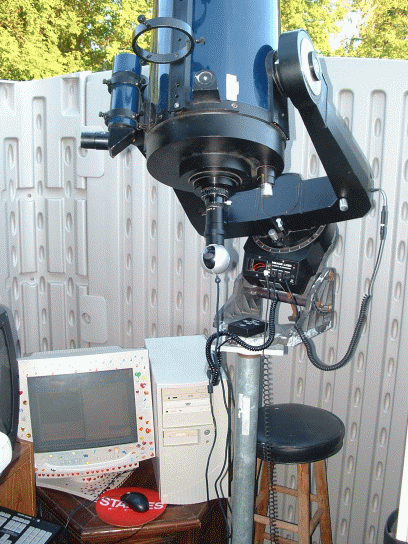
This photograph shows the scope and computer setup for my planetary images.
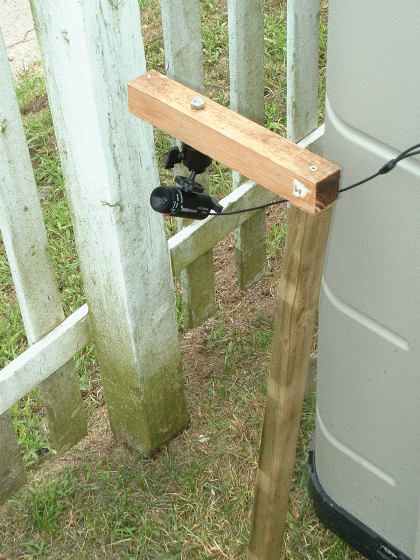
My meteor shower and "UFO" camera. I use this to record live video of the sky.The PC-164C Black and white camera has a lux of 0.0003.With my 6mm lens, I can record stars and meteors down to about magnitude +3. I then upgraded the lens to a 4mm F1.2 Fujinon lens and now can record stars to +4! This all from my home in suburban Manchester, NH. It definitely is fun to let the camera run during meteor showers even if the full moon is out. You can still record bright fireballs.
The observatory took one afternoon to assemble and was not that difficult. If you want to make up a simple observatory shed with little to no hassle, this is the way to go. I hope this will also allow me to spend time doing some astronomy during our cold NH winters. At least it will cut down the wind! Because of the location being in Manchester, most of the work will be planetary and lunar. However, I have had some pretty dark skies to my northeast and east, which allows me to do some deep sky and meteor patrol work.
As of 2015, the observatory has been redesigned as I have dismantled the pier mount and removed the LX50 from the fork mount. I now have an equatorial mount inside the observatory and mount a 7-inch F15 Maksutov-Cassegrain.