After the telescope/tracking platform is aligned, we will want to try piggybacking your camera. You can purchase or construct a bracket for your scope. Mount the camera so that it is parallel to the scopes tube. It can be a little off center but it is best to keep it parallel to correct for any polar alignment errors or flexure of the camera and lens. You will need a guiding eyepiece. The most popular is the 12mm lens with an illuminated crosshair inserted into it. This will work with most photographs. By piggybacking the camera, your exposures can go a long time and the stars will be pinpoints. Also, those blurry nebulous regions that you glimpsed in tripod shots now take shape. Even in a 50mm, the horsehead nebula can be seen as a small dark notch in the red emission nebula just south of Zeta Orionis. Often, beginners will mount the 50mm or 28mm lens on a camera and piggyback it. Unfortunately, these lenses have wide fields and will catch some of the telescope if you are not careful. Try mounting the camera on a ball and joint type attachment that is attached to the scopes camera mount. Now you can angle the camera a bit so it does not include the scope tube. Use the scope to guide on the guide star for the required time. You will be surprised at the difference this makes in visible detail.
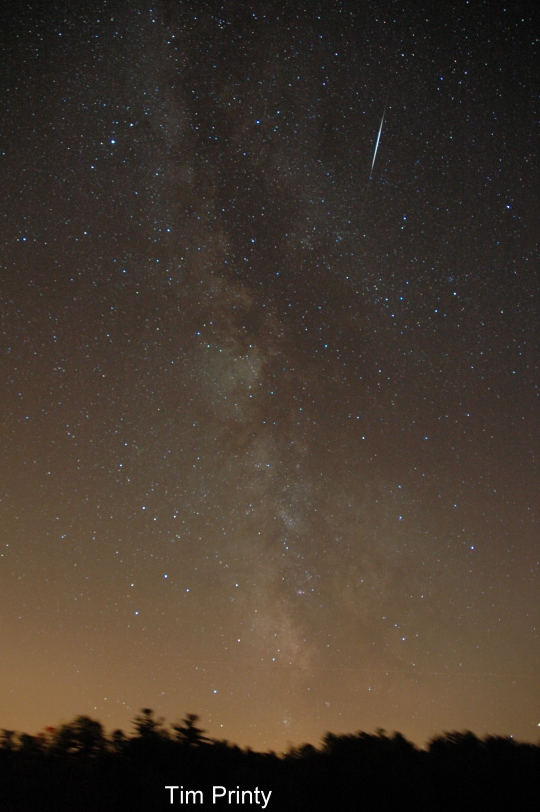
An 18mm shot of the Milkyway. Note that the trees are blurred due to the motion of the scope tracking the sky during the photograph.
Choice of lenses is important. Fast lenses are preferred but not completely. The low f-ratio will minimize the required exposure times. A 28mm lens is great for wide field shots but only if you want to shoot really large targets like the Milky Way. A 135mm lens is great for close-ups of comets and large nebulae. A 200mm is even better. Lastly, you will need a long lens. I suggest a 300-500mm lens. Do not purchase a mirror lens. They lack the resolution of the standard type lens and are usually set for an f-ratio of 8. The highest f-ratio you want to use is probably f5.6. F-ratios higher than 5.6 are too slow for most astrophotos.
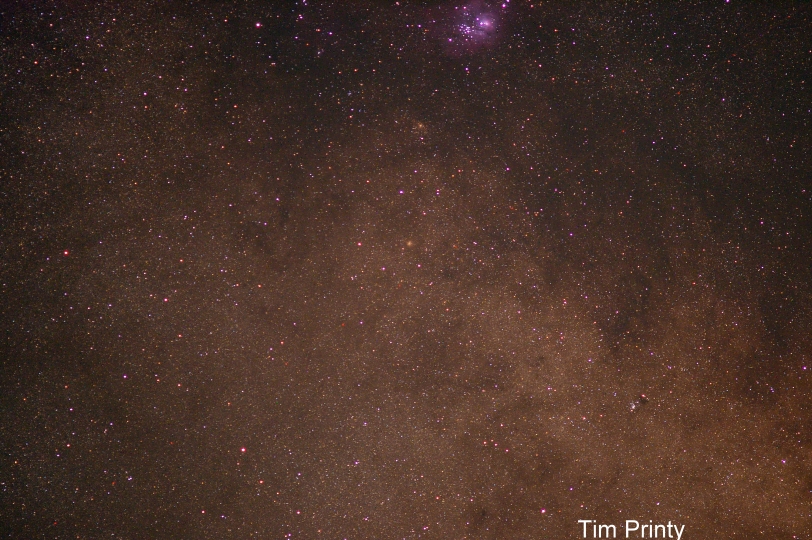
A 200MM F2.8 telephoto shot of the Sagittarius teapot area. The Lagoon nebula is at top.
Most lenses demonstrate two characteristics that are not desirable. The first is vignetting. This is the uneven distribution of light across the frame. It results in a bright center but dark edges. Almost all lenses demonstrate this. The other characteristic is coma. This is the curvature of star images at the edges of the field. The stars appear gull-shaped as you move towards the edge of the field. The easiest remedy for both is to adjust the f-stop to one or two higher settings. This works great for most lenses but it also increases your required exposure time. I suggest you invest good money and lots of research in choosing your lenses. Most of the top of the line lenses exhibit little or no coma wide open and the vignetting is slight. However, price is not always a guarantee for a good lens. My expensive Nikon 50mm F1.4 lens has atrocious coma while my cheap pentax 50mm F2 lens is acceptable.
Another method is to piggyback a fast refractor or small reflecting telescope on the main telescope. This has additional problems. If the type of telescope is a simple achromat, the different colors of light will come to focus at different points. As a result, stars will have blue haloes around them. This can be corrected with a minus-violet filter but it only minimizes the effects. The only way to get rid of the haloes is to use an Apochromat refractor. These are expensive. The better the APO lens, the more expensive it becomes. I have used achromat lenses for many photographs but they just do not compare to those images taken with APO refractors. A possible shortcut is to piggyback a small reflector such as a 6" F5. These are usually fast mirrors but are quite heavy and are not often used as a piggyback instrument.

A shot of M31 using a 120mm F5 refractor. Notice the blue haloes around the stars because a simple achromat was used.
Eventually, piggybacking cameras becomes limited. You really can not get detail on galaxies and many nebula. As a result, you have to take the next step, deep sky through the telescope.
Go to DEEP SKY THROUGH THE SCOPE
Go to IMAGING PLANETS
Go back to page 1 of ASTROPHOTOGRAPHY GUIDE